Every renovation, from a single bathroom to a whole-house gut, produces one thing in abundance: debris. And nothing derails a remodel's momentum faster than nowhere to put it. A little planning turns waste from a constant obstacle into a non-issue. Here's how experienced remodelers and contractors around Lawrenceville handle it — and how you can too.
In this guide
- Plan Your Waste Before You Swing a Hammer
- Time the Rental With Your Project Phases
- Size It for a Renovation, Not a Cleanout
- Protect Your Property During a Long Rental
- Know What Renovation Debris Is (and Isn't) Allowed
- Coordinating With Your Contractor
- Save Money Without Cutting Corners
- A Phase-by-Phase Renovation Waste Timeline
- Room-by-Room: What Each Remodel Throws Away
- DIY vs. Contractor: Who Handles the Debris?
- One Call Handles the Whole Project
Plan Your Waste Before You Swing a Hammer
The best time to think about debris is before demo day, not the moment the garage fills up. Walk the project and ask: what's coming out, roughly how much of it, and how heavy is it? Cabinets, drywall and flooring are bulky but manageable; tile, plaster and old concrete are heavy. That quick mental inventory tells you what size container you'll need and when. Getting the dumpster on site before demolition starts means the debris has a home from the very first swing.
Time the Rental With Your Project Phases
Renovations move in waves, and debris comes with them. A typical remodel has a heavy demolition phase up front (old materials coming out), a quieter build phase in the middle, and a finishing phase with lighter packaging and offcuts at the end. For most projects, a single container placed at the start of demo and picked up after the heavy phase covers the bulk of the mess. For longer whole-home jobs, you might schedule a swap between phases. Our generous rental windows and easy swap service are built for exactly this rhythm.
Size It for a Renovation, Not a Cleanout
Renovation debris volumes surprise people. A full kitchen remodel — cabinets, counters, flooring, drywall, appliances — generates far more than a garage cleanout. As a rough starting point:
- Single bathroom: a 10-yard (heavy tile and fixtures keep volume low)
- Kitchen or multi-room remodel: a 20-yard
- Whole-home renovation or addition: a 30-yard or larger
When you're between sizes and the debris isn't dominated by heavy material, size up — a second delivery costs more than the extra capacity. Our full sizing guide goes deeper.
Protect Your Property During a Long Rental
A renovation dumpster may sit in your driveway for a week or more, so placement and protection matter. We set every container on boards to keep your driveway and apron scratch- and stain-free. Choose a spot that's convenient to your work zone but doesn't block the garage or trap a car you'll need. And if heavy rain is in the Georgia forecast during a long rental, remember that wet debris gets heavier — keeping absorbent material covered can help you stay within your weight allowance.
Know What Renovation Debris Is (and Isn't) Allowed
Most renovation debris is perfectly fine: drywall, lumber, cabinetry, flooring, fixtures, trim, insulation and packaging. But remodels also tend to surface the prohibited stuff — old paint cans, solvents, fluorescent tubes, and the occasional refrigerant appliance. Those need separate handling. Before demo, set aside a corner for anything hazardous so it doesn't accidentally end up in the box. Our complete accepted-items guide covers every category, and we're always a phone call away if something's unclear.
Coordinating With Your Contractor
If a contractor is running your project, talk about waste up front. Some GCs include dumpster service in their bid; others expect the homeowner to arrange it. Either way, clarity prevents the awkward mid-project scramble. Many Lawrenceville contractors keep our number on hand precisely because we deliver on time and swap fast — if yours doesn't have a preferred hauler, we're glad to coordinate directly with them on delivery timing, placement and swaps so you don't have to play middleman.
Save Money Without Cutting Corners
The two biggest renovation-waste savings are simple: size right (one correctly sized container beats two deliveries) and load smart (break debris down, load flat and even, and keep heavy inert material like tile and concrete in a weight-appropriate box). Do those two things and your flat rate stays flat. Our guide to avoiding overage fees has the full playbook.
A Phase-by-Phase Renovation Waste Timeline
Mapping debris to your project's phases makes the whole thing predictable:
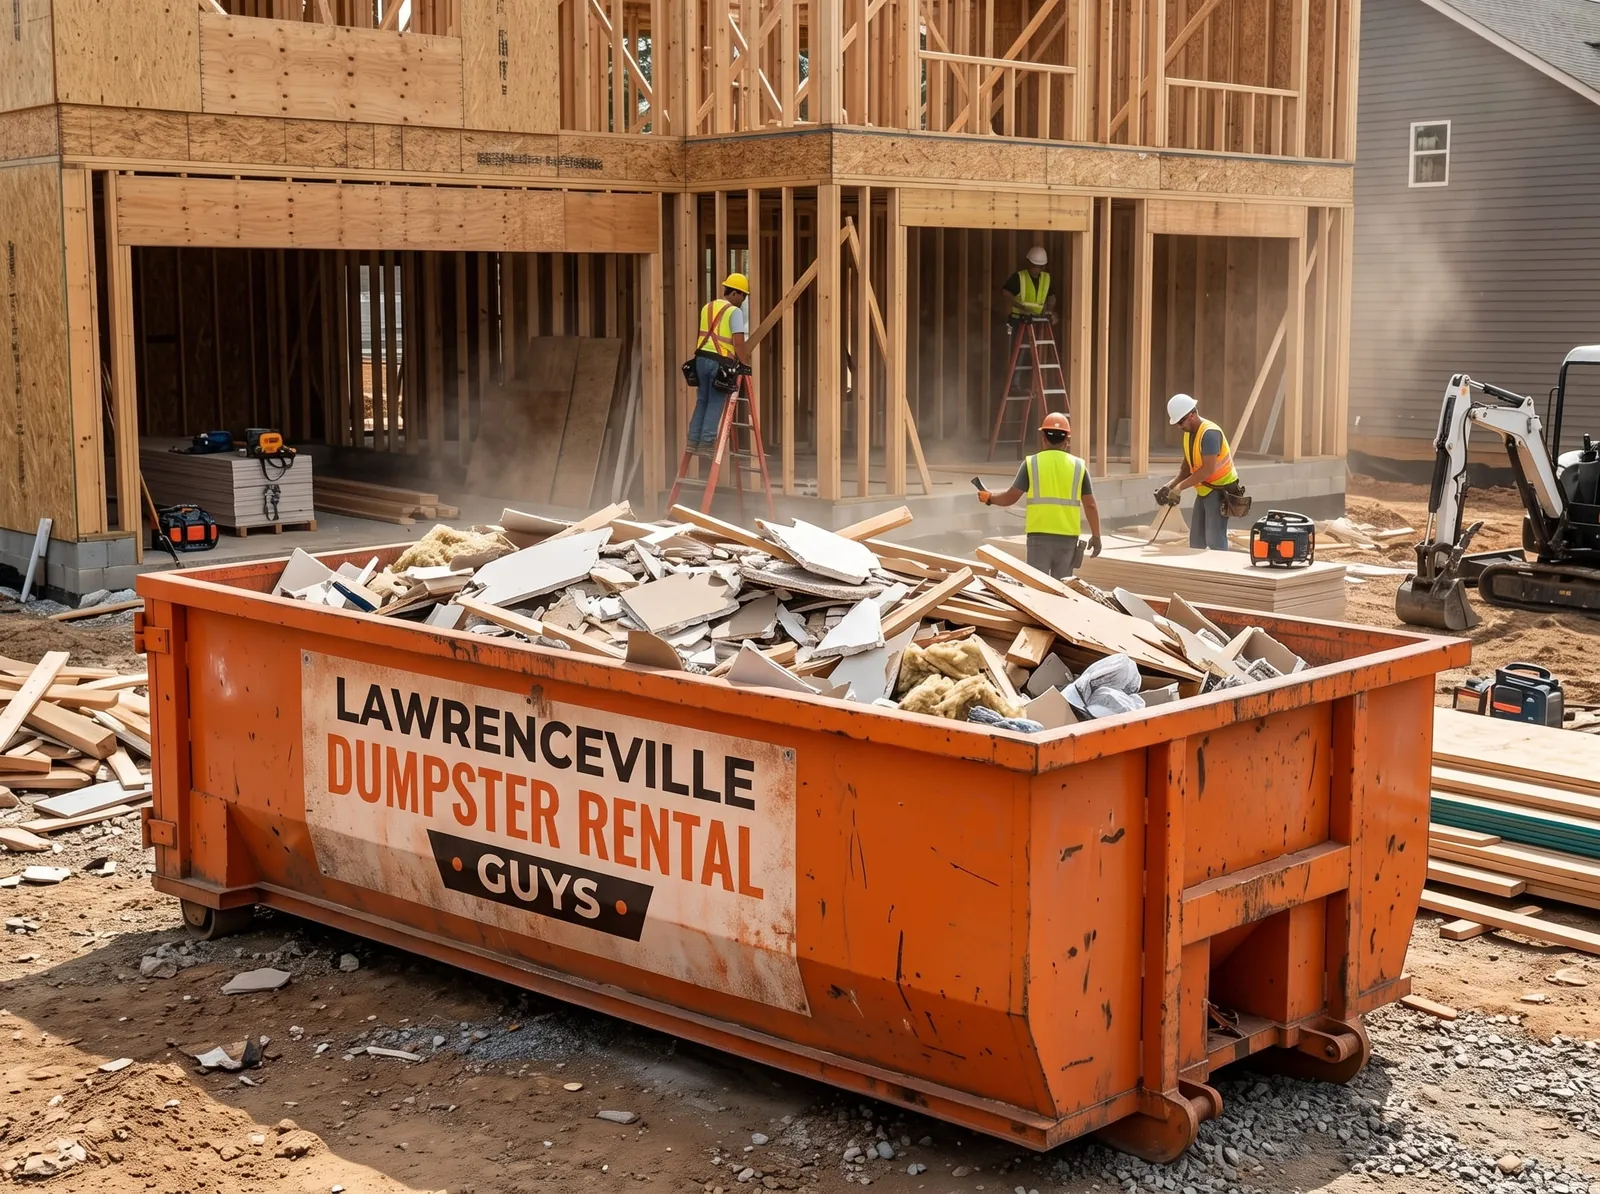
Phase 1 — Demolition (heaviest debris): This is when the container earns its keep. Old cabinets, flooring, drywall, tile, fixtures and trim all come out fast. Have the dumpster on site before day one.
Phase 2 — Rough-in and build (moderate debris): Framing offcuts, packaging from new materials, pipe and wire scraps. Lighter, but steady. On a long job, this is a natural point to swap a full container for an empty one.
Phase 3 — Finishing (light debris): Paint cans (dried), flooring offcuts, trim ends, and lots of cardboard and packaging from fixtures and appliances. A final pickup after this phase closes out the project cleanly.
Room-by-Room: What Each Remodel Throws Away
Different rooms generate very different debris profiles, which affects both size and weight:
- Kitchen: cabinets, countertops, appliances, flooring, drywall — high volume, mixed weight. Usually a 20-yard.
- Bathroom: tile, tub, vanity, toilet, subfloor — low volume but heavy. Often a 10-yard is correct despite the small room.
- Basement: old paneling, carpet, framing, plus whatever was stored down there. Volume varies widely.
- Whole-house flooring: carpet and pad are bulky and light; tile is heavy. Plan by material.
- Additions / new framing: lots of bulky, light offcuts and packaging — volume-driven, so size up.
DIY vs. Contractor: Who Handles the Debris?
On a DIY renovation, the waste is entirely yours to plan — which is actually simpler in one way, because you control the timeline and can load at your own pace. Just size a bit generously, since first-time renovators almost always underestimate volume. On a contractor-run job, clarify up front whether waste hauling is in their scope. Some contractors fold it into the bid and handle everything; others assume you'll arrange the dumpster. Getting that straight in writing avoids the mid-project scramble. Whichever it is, we're glad to coordinate directly with your contractor on timing and swaps.
One Call Handles the Whole Project
You've got enough to manage on a renovation. Waste shouldn't be one of the hard parts. Tell us your project and timeline and we'll recommend a size, schedule delivery around your demo day, and handle swaps and pickup so debris never slows you down. That's the quiet, reliable service that keeps Lawrenceville's remodelers and homeowners coming back.